CI/CD
What is CI/CD and why is it important?
CI/CD stands for Continuous Integration/Continuous Deployment. It is a set of practices and tools that enable teams to deliver code changes more frequently and reliably. CI/CD is important because it helps teams to automate the process of building, testing, and deploying code changes, which reduces the risk of errors and improves the speed of delivery.
You configure one or more development tasks to execute automatically when certain events happen in the hosted repository, such as a push or a pull request. For example, for an R package, it’s extremely valuable to configure an automatic run of R CMD check. This helps you discover breakage quickly, when it’s easier to diagnose and fix, and is a tremendous help for evaluating whether to accept an external contribution.
Even for a solo developer, having R CMD check run remotely, possibly on a couple of different operating systems, is a mighty weapon against the dreaded “works on my machine” problem.
We recommand using GitHub Actions for CI/CD which is free (for now) and with a lot of pre-existing actions available for the community. However, you can also use other CI/CD tools like Travis CI, CircleCI, Jenkins, etc… that are good too.
If your project is hosted on Gitlab, you can use Gitlab CI/CD which is similar to GitHub Actions. However, this feature is currently not available at CIRAD nor IRD instances. Don’t know yet about INRAE.
GitHub Actions
Principles
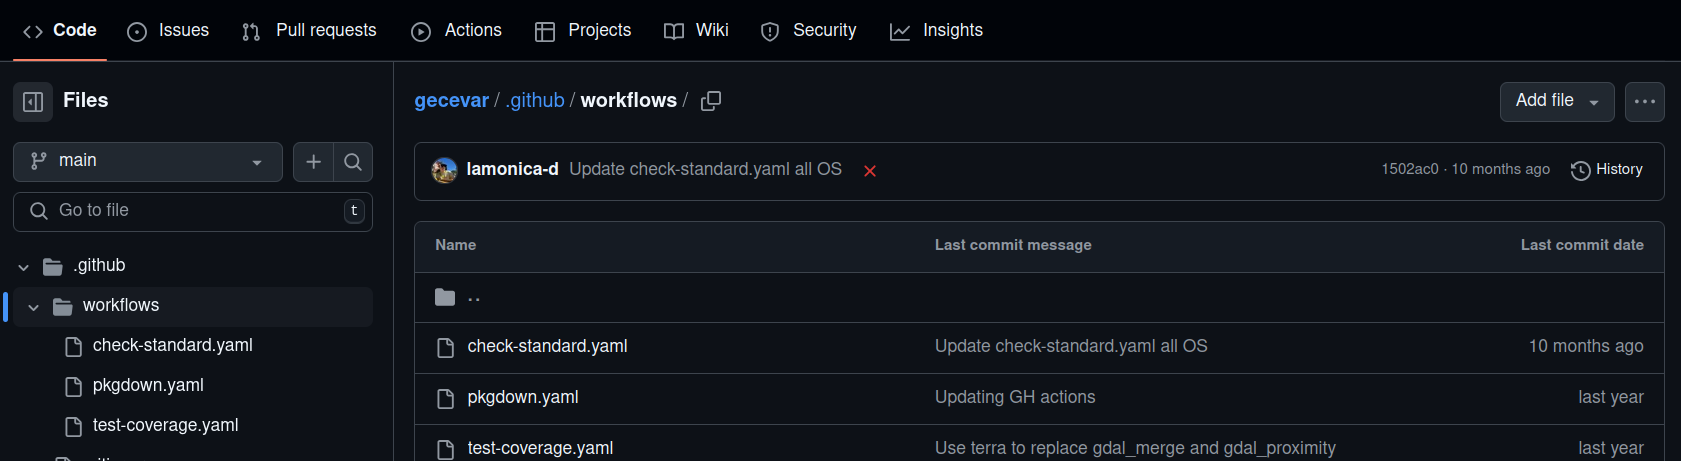
.yamlfiles which contain the instructions: they have to be located in a.github/worflowsrepository.
- Code structure
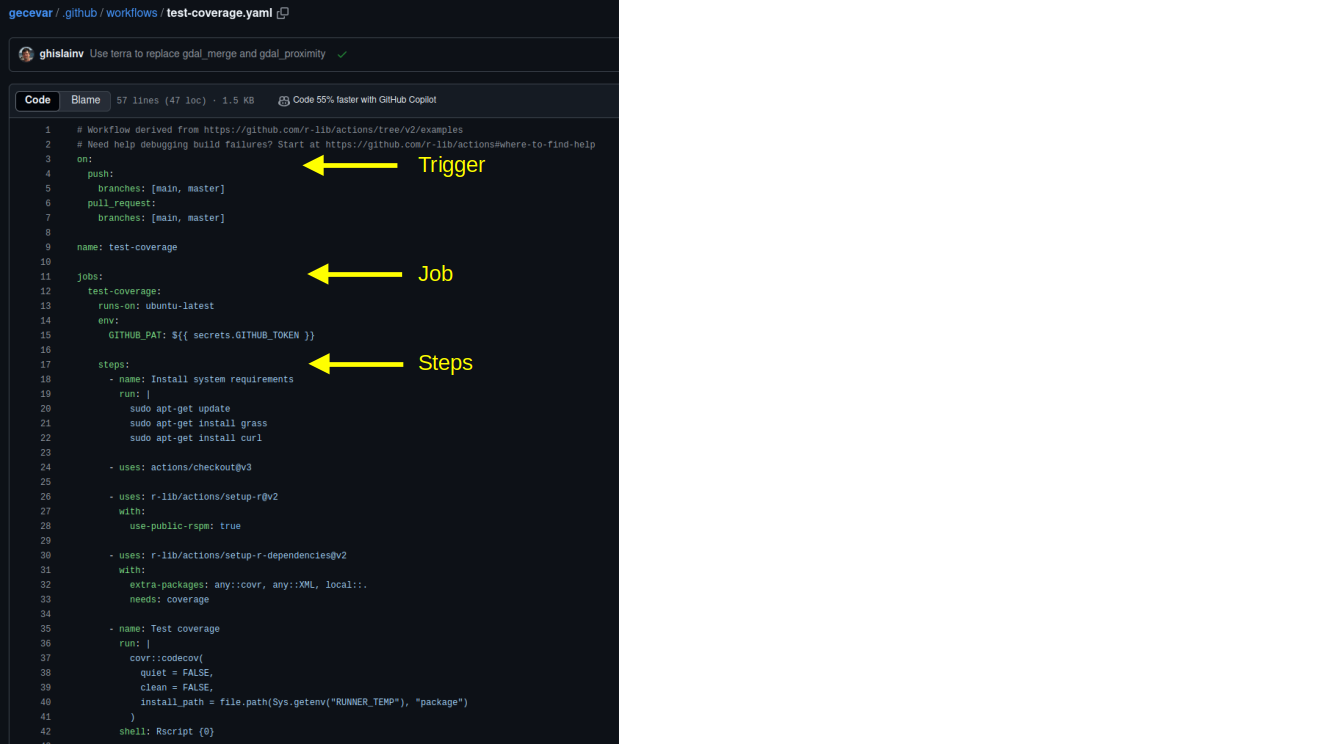
The trigger bloc gives the instructions for when the action will be launched. The job bloc gives the following instructions: on which OS the action should be run (runs-on), and the list of steps to be run (steps).
Don’t write your .yaml from scratch: you’ll find plenty of examples on GithHub, just adapt them to the desired workflow.
Once your .yaml is ready, and you have triggered the action (by pushing a commit, for instance), you need to navigate to get the log. Here is an example with a test-coverage action.
- In the ‘Actions’ tab, on the left panel you can select one of your workflows to display its successive runs:
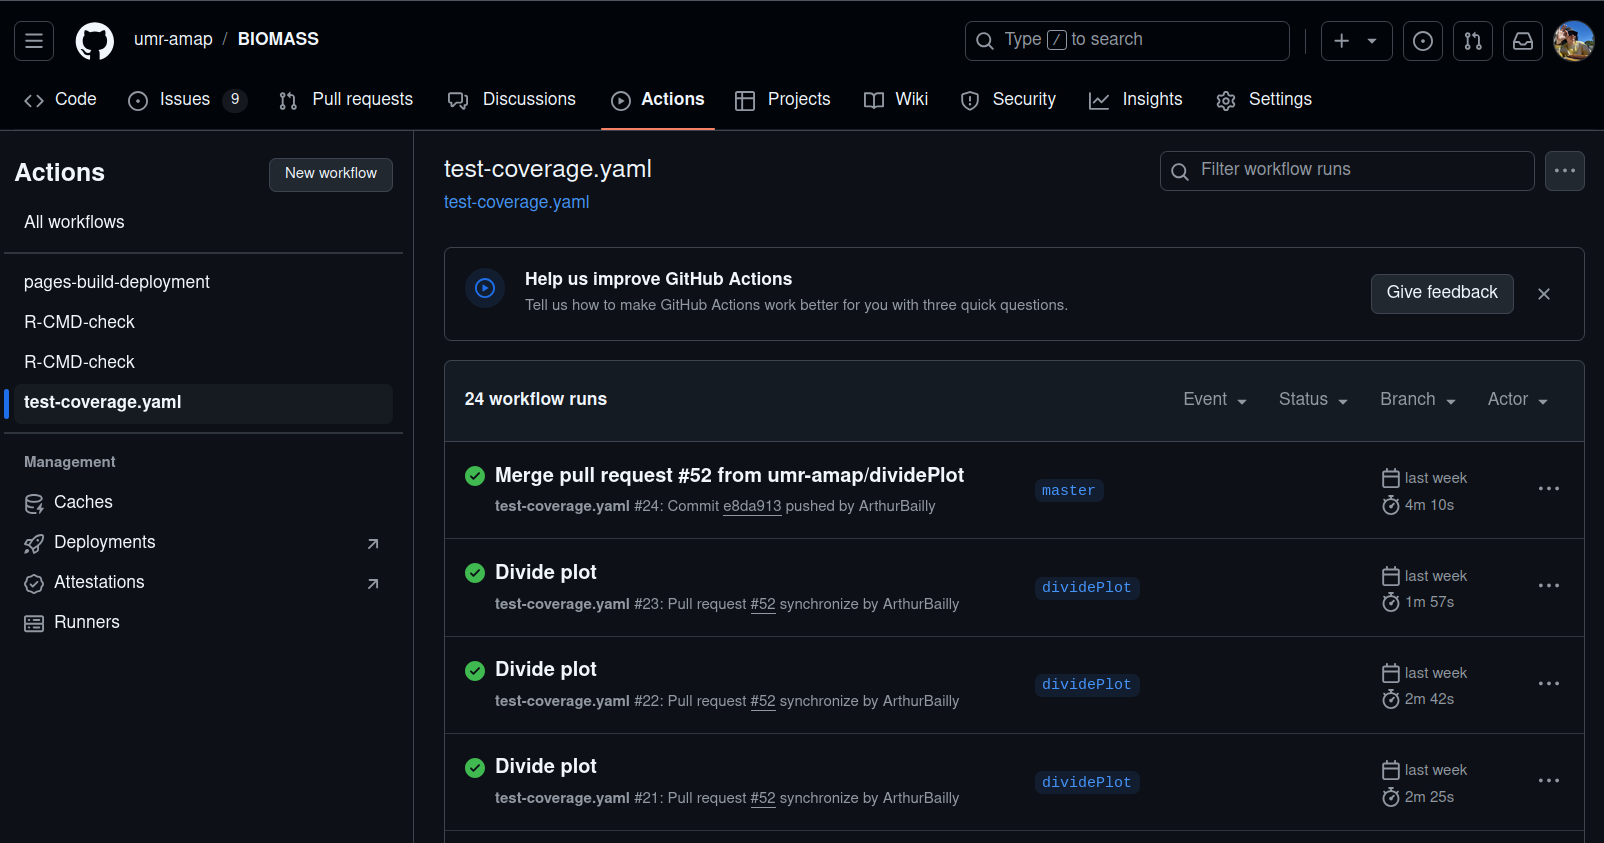
You can see the commits where the workflow has been run, branch, date, duration (among various information). Obviously a green check means that the workflow has entirely run without failure, whereas a red cross indicates that it has failed.
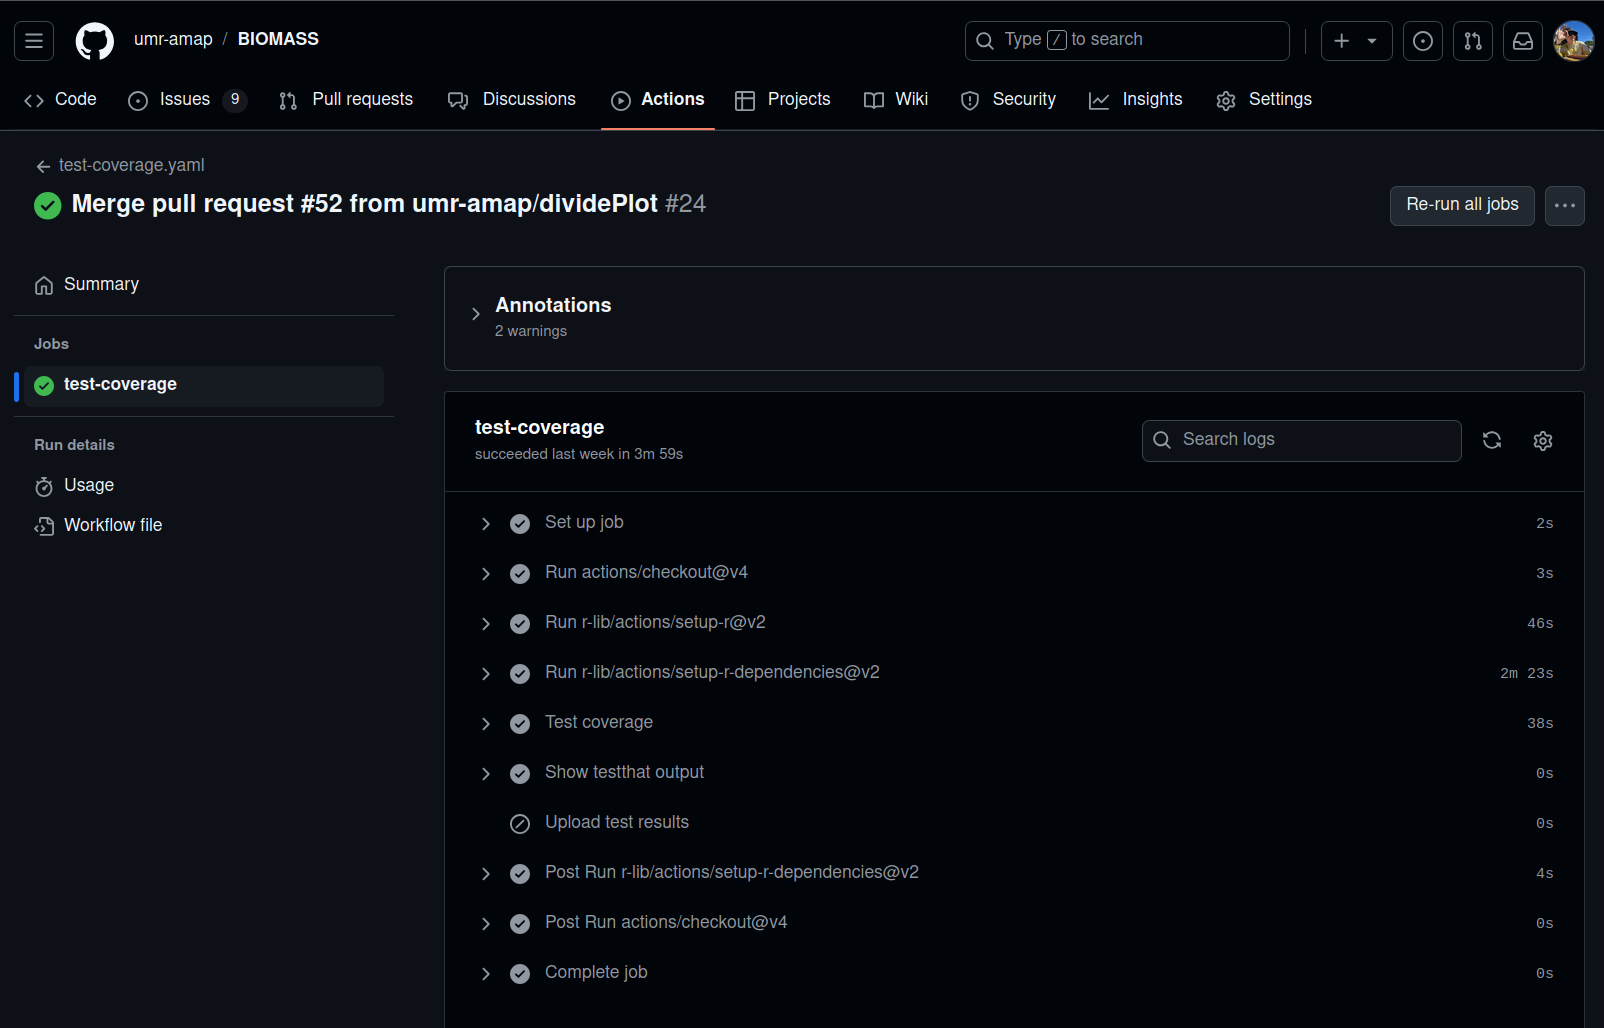
- From there, select the run you’re interested in (let’s say the most recent, here ‘Merge pull request #52 - test-coverage.yaml #24’):
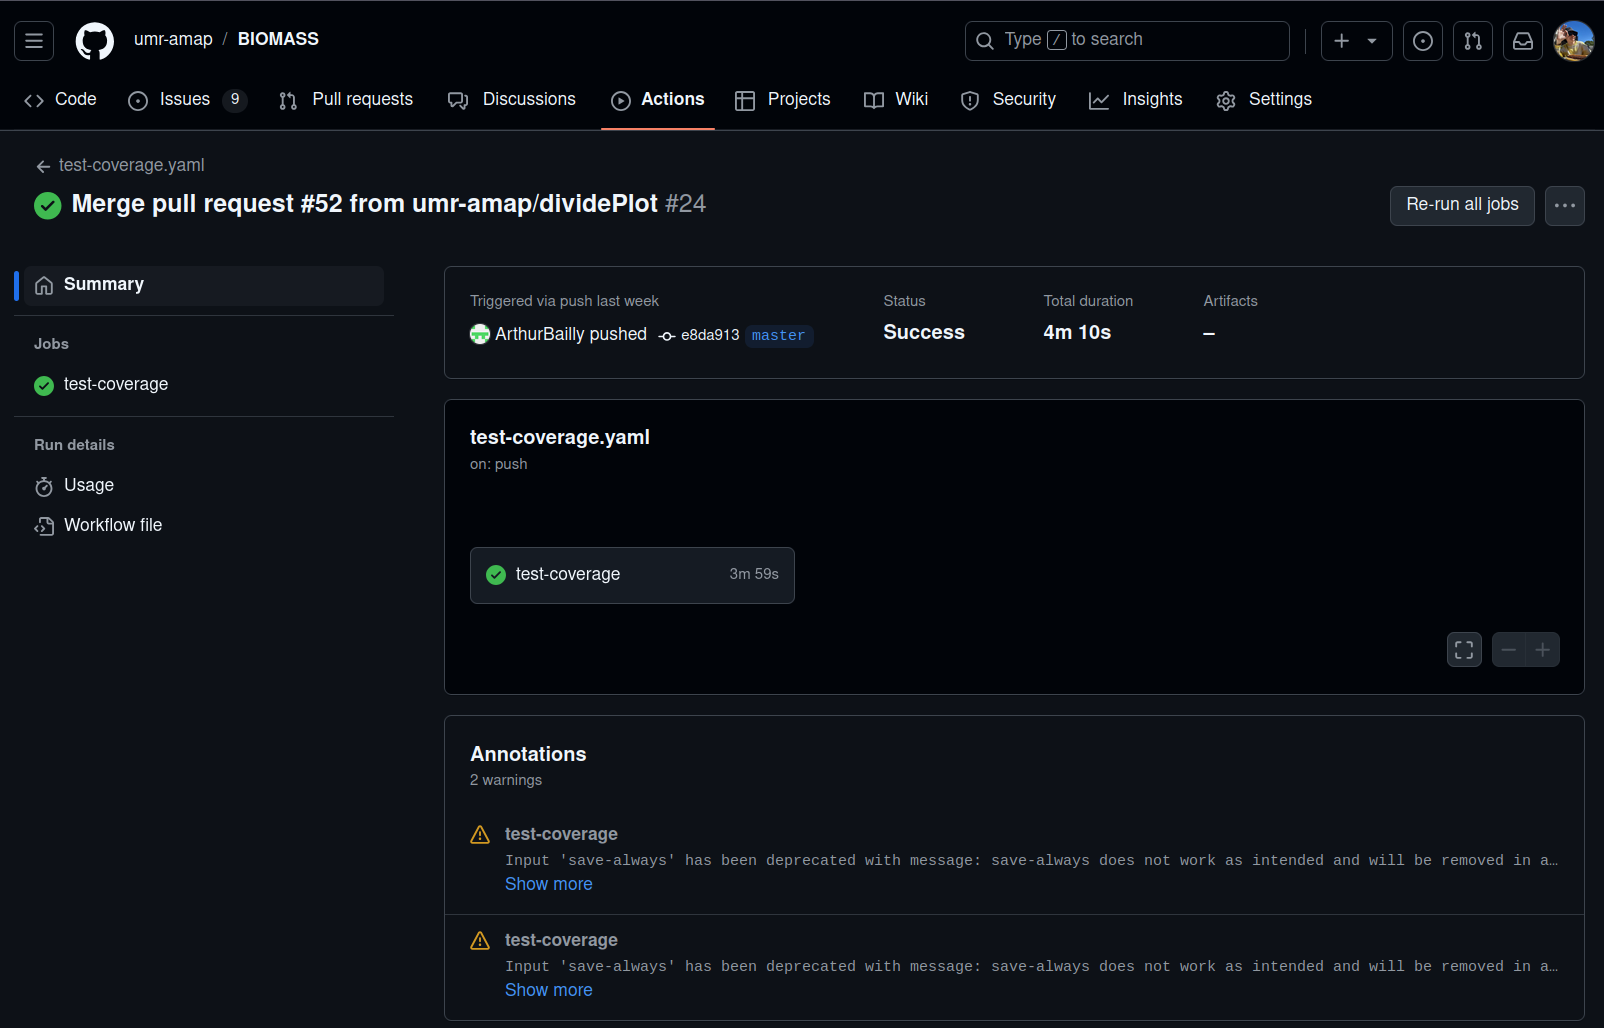
A summary of the action is displayed. If there are any warnings for instance, you’ll see those in the Annotations panel at the bottom. To display the workflow log let’s click on the workflow name in the central panel or in the ‘Jobs’ section (left panel).
- Workflow logs:
Each step outputs can be drop-downed.
- Let’s select the fifth step ‘Test coverage’:

Here are your logs !
Configuration for an R package
Use various functions from usethis package to configure so-called GHA workflows. usethis package copies workflow configuration files from r-lib/actions.
You can also create and modify the .yaml files directly in GitHub by copy paste an existing
.yamlthat matches you needs.Some very useful actions to set up
usethis::use_github_action():check-standard: Run
R CMD checkon Linux, macOS, and Windows,test-coverage: Compute test coverage and report to https://about.codecov.io (or compute test coverage without report, and directly look at the results in the Actions tab, as previously showed),
pkgdown: Deploy website or vignette with Github pages
usethis::use_pkgdown_github_pages(),pr-commands: Add /document and /style commands for pull requests.